Project Phantom

vtrsp1da0
Posts: 488
Joined: Fri Apr 29, 2011 9:24 pm

Re: Project Phantom

Post by vtrsp1da0 » Sun Mar 29, 2015 8:24 pm

The lamp has side bracket mkunts so no other choice really. I killed out the top yoke to take the speedo mounting bracket and hold it in the correct position.

I got the mudguards on today and rear lights. Pictures to follow.[/quote]


I'd agree you sure have killed that yoke :lol:
0 x

Lardmarc
Posts: 423
Joined: Fri Apr 29, 2011 9:24 pm

Re: Project Phantom

Post by Lardmarc » Sun Mar 29, 2015 8:29 pm

Mr Shiney wrote:
Lardmarc wrote:
Mr Shiney wrote:I liked the scrambler look that Bonnielad did on his Armstrong.
Me too. I started getting the parts together and then remembered I have a 1970 Enfield Bullet in my shed, I couldn't get more retro than that. I like the round headlamp idea, very tidy. I'm surprised you didn't drill through the top yoke to secure the lamp.
The lamp has side bracket mounts so no other choice really. I drilled out the top yoke to take the speedo mounting bracket and hold it in the correct position.

I got the mudguards on today and rear lights. Pictures to follow.
Sorry matey, I confused the issue there. I meant the speedo not the lamp, I was so busy trying to get a 'Loctite' crack in that I messed it up.

Anyway. You'd better Loctite that speedo bolt in.
0 x

Mr Shiney

Re: Project Phantom

Post by Mr Shiney » Sun Mar 29, 2015 8:52 pm

Lardmarc wrote:
Anyway. You'd better Loctite that speedo bolt in.
Already done.... :lol: Spring washer as well so hopefully it's going to stay put!
0 x

User avatar
frenchy3
Posts: 963
Joined: Sat Jan 17, 2009 5:33 pm
Location: Snetterton,Norfolk
Location: snetterton,norfolk

Re: Project Phantom

Post by frenchy3 » Mon Mar 30, 2015 6:49 am

Excellent project :D :D :D I do like the electronic speedo and i think i may put one in the original headlight shell.
0 x
MT 350 1996 The Albatross

Mr Shiney

Re: Project Phantom

Post by Mr Shiney » Mon Mar 30, 2015 8:05 am

frenchy3 wrote:Excellent project :D :D :D I do like the electronic speedo and i think i may put one in the original headlight shell.
I fitted one when I did Ernie's restoration that goes into the existing cowl with a minor mod. The time consuming job is doing the wiring it requires a lot of careful modification to wire it properly. Well worth the effort I think.
0 x

Mr Shiney

Re: Project Phantom

Post by Mr Shiney » Mon Mar 30, 2015 8:42 am

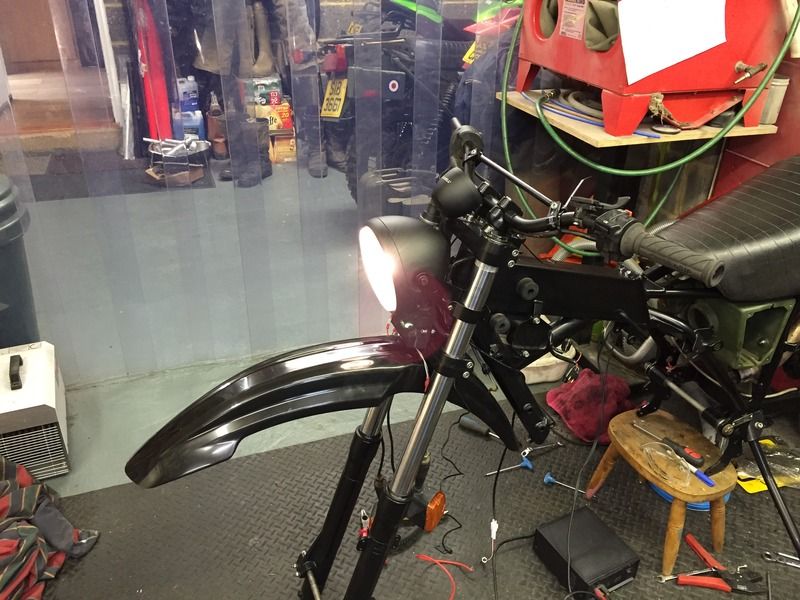
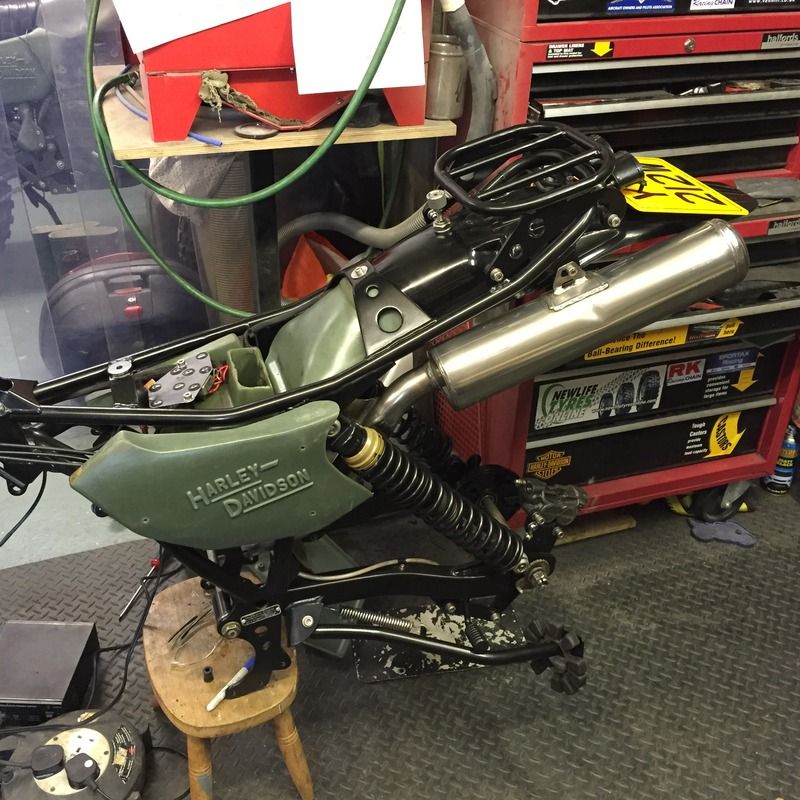
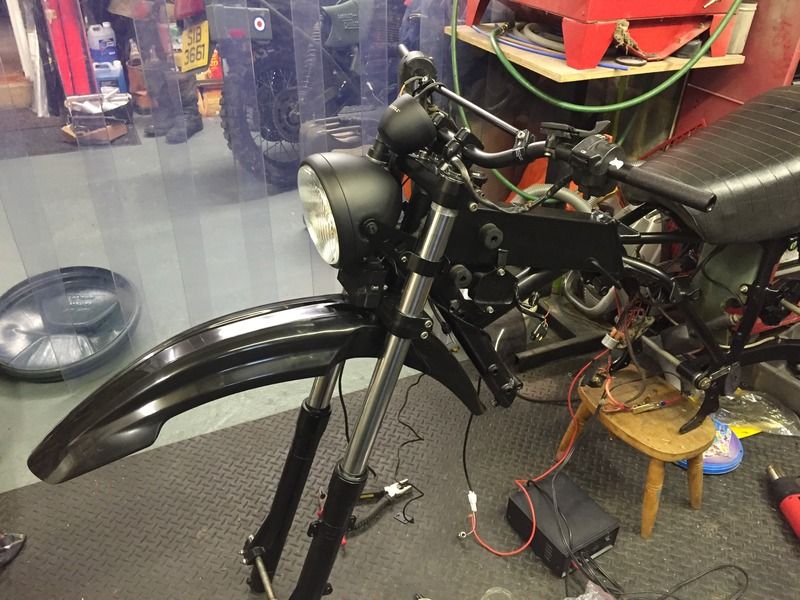
A few more pics as the plastics start to go on. Still waiting an aluminium brace to arrive for the front mudguard. For a little stiffening of the mudguard but also to add a bit of brightwork at the front.

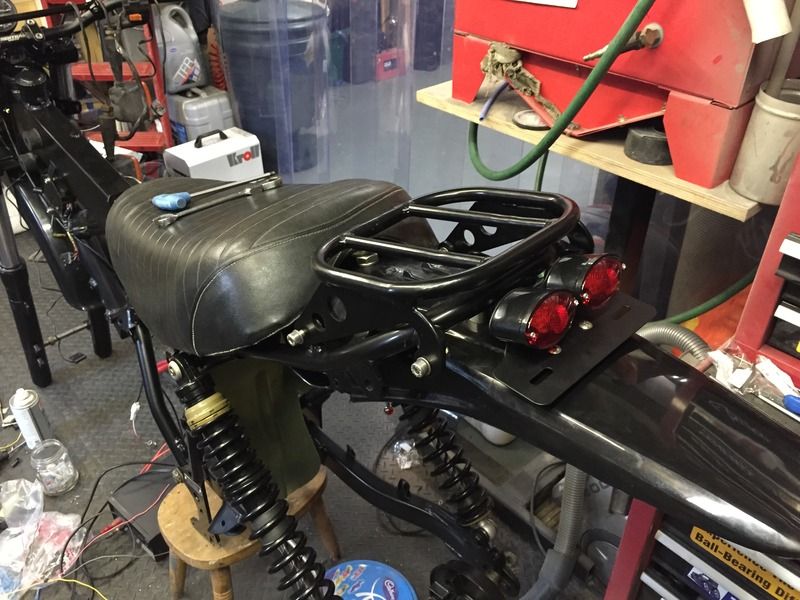
I machined some 25mmx20mm spacers with a 10 degree slope on them to lower the rear mudguard and allow the lights and number plate to be mounted on the top. The slope was needed to match the slop of the mudguard so the spacers looked right. The lights have indicators built into them an the front is going to get a pair of micro indicators in due course.

Front mudguard is on 10mm spacers to give clearance from the exhaust pipes as the aftermarket plastic is slightly longer and does not fall away quite as quickly as the original. I learnt the hard way from earlier use of these plastics that if you sat with the wheel straight ahead and the engine running you can deform the edge of the plastic from the heat. The 10mm drop is enough to prevent this. Spacers made from Nylon although I might substitute for aluminium.

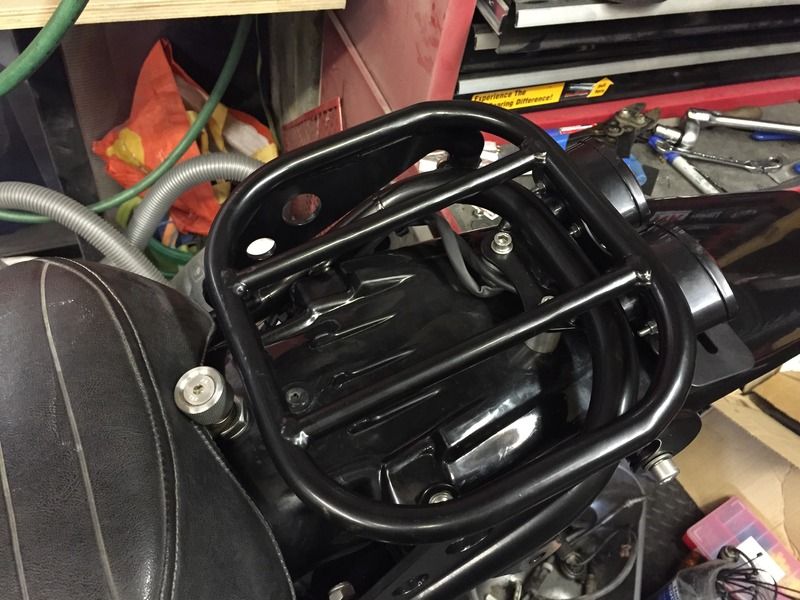
The rear rack is half the original size, I did a cut and shut job on it and formed the rear mounts with the plasma cutter. A surprisingly difficult job to do as there was so much welded in stress on it that when I cut it in half the tubes sprang all over the place!! Also quite a bit of grinding work to make the welds invisible.

Image

Image

Image
0 x

Mr Shiney

Re: Project Phantom

Post by Mr Shiney » Wed Apr 01, 2015 6:17 pm

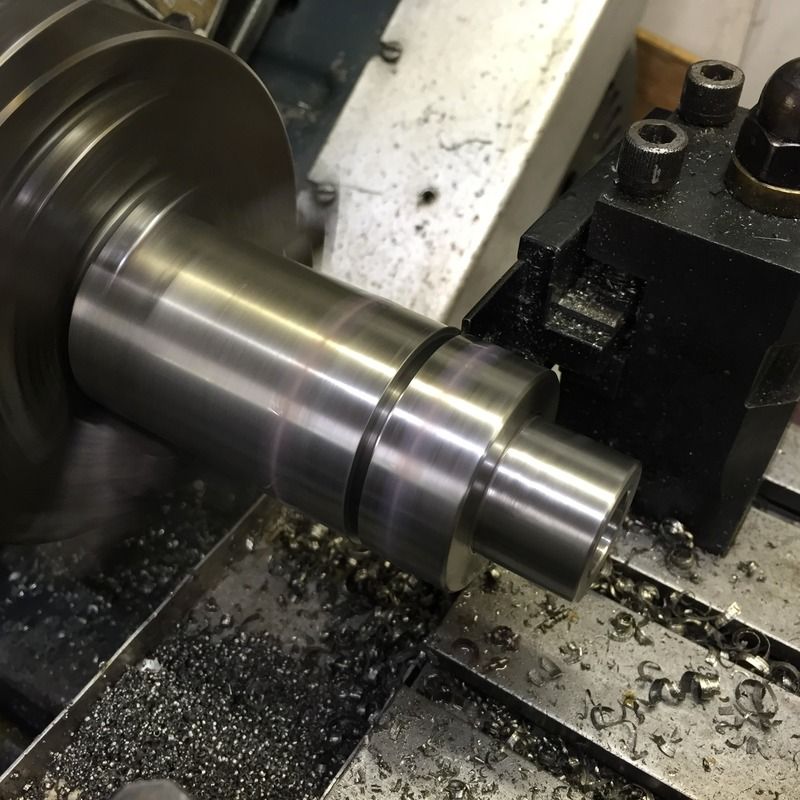
A little more progress on the Phantom now. We have power for a start, everything live and working as it should. Bodywork is all done now and I found time to make the speedo drive eliminator today in stainless steel and of course it needed to be "Shiney" so I polished it!!!

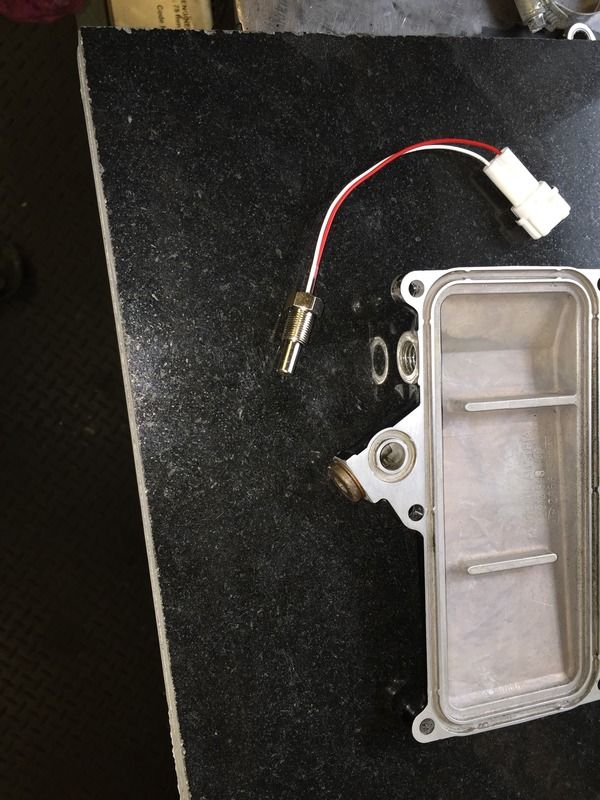
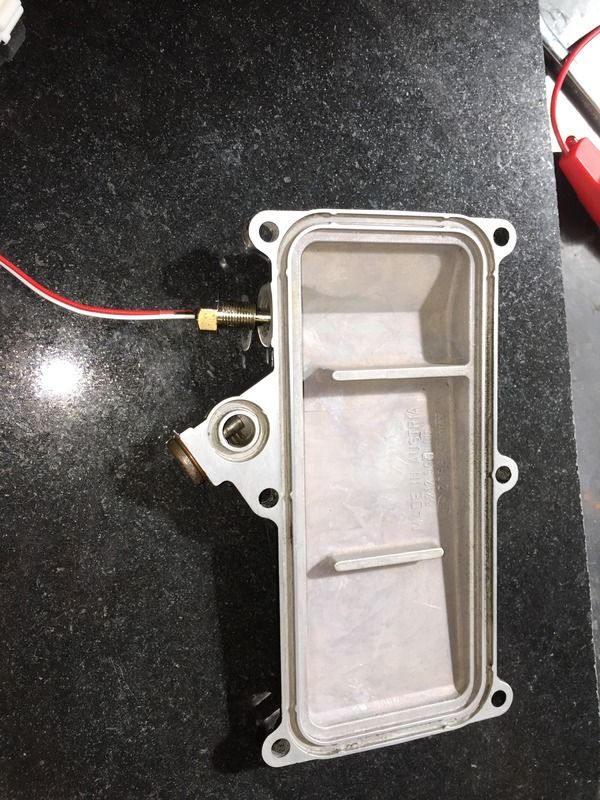
I fly cut the sump on the lathe as it was so buckled the oring would not give a seal and it leaked oil faster than it could be poured in! I am also in the process of making up the oil temperature gauge fittings. I am using the spare port behind the drain plug. This is an M12x1.75 so I need to machine up an adaptor to take the 1/b BSP sensor. Tomorrows project if time permits before I go on holiday!!

Image

Image

Image

Image

Image

Image
0 x

User avatar
Bonnielad
Global Moderator
Posts: 1467
Joined: Sun Jun 21, 2015 7:38 pm

Re: Project Phantom

Post by Bonnielad » Wed Apr 01, 2015 7:05 pm

Looking good Steve. Are you sure those rear lights are legal? I know that imported American cars that had 'dual purpose' rear lights had to be rewired because you had to have separate indicators from tail-lights.
0 x
2024 (2012) CCM MT230
2003 Triumph Thunderbird Sport
2002 BMW F650GS

Mr Shiney

Re: Project Phantom

Post by Mr Shiney » Wed Apr 01, 2015 7:56 pm

Bonnielad wrote:Looking good Steve. Are you sure those rear lights are legal? I know that imported American cars that had 'dual purpose' rear lights had to be rewired because you had to have separate indicators from tail-lights.

I doubt they are legal despite being CE marked and DOT marked. But it's an off road bike and single seat so not required to have indicators. Worse case the front ones will be covered up for MOT.

My Can Am has the same lights and has passed MOT twice now though.... :D
0 x

Oily Ragg

Re: Project Phantom

Post by Oily Ragg » Fri Apr 03, 2015 6:31 pm

Nice back rack looks just like mine
0 x

Post Reply

Who is online

Users browsing this forum: No registered users and 88 guests